When you buy a house that is a ‘doer-upper’ one of the most exciting and most daunting rooms has to be the kitchen. It has to be the most expensive too. You don’t want to get it wrong and much has to be considered. Not just the ‘golden triangle’ of sink, fridge, cooker, but how to create the heart of the house.
Often the space to be furnished with your kitchen cupboards, sink, appliances etc is a set size and sometimes wonky shape unless you are doing some pretty major renovation work and can bash it about as you please. This is where we found ourselves. The existing kitchen space with an Aga in what we assumed would have been a fireplace a long time ago. Then there was an awful lot of wood chip wallpaper.
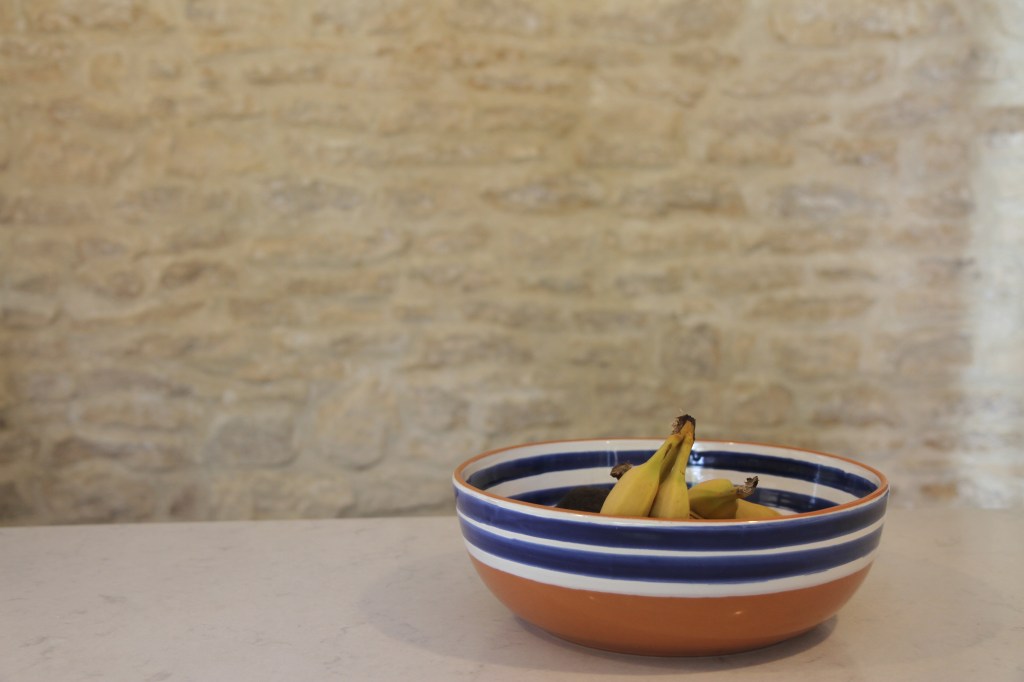
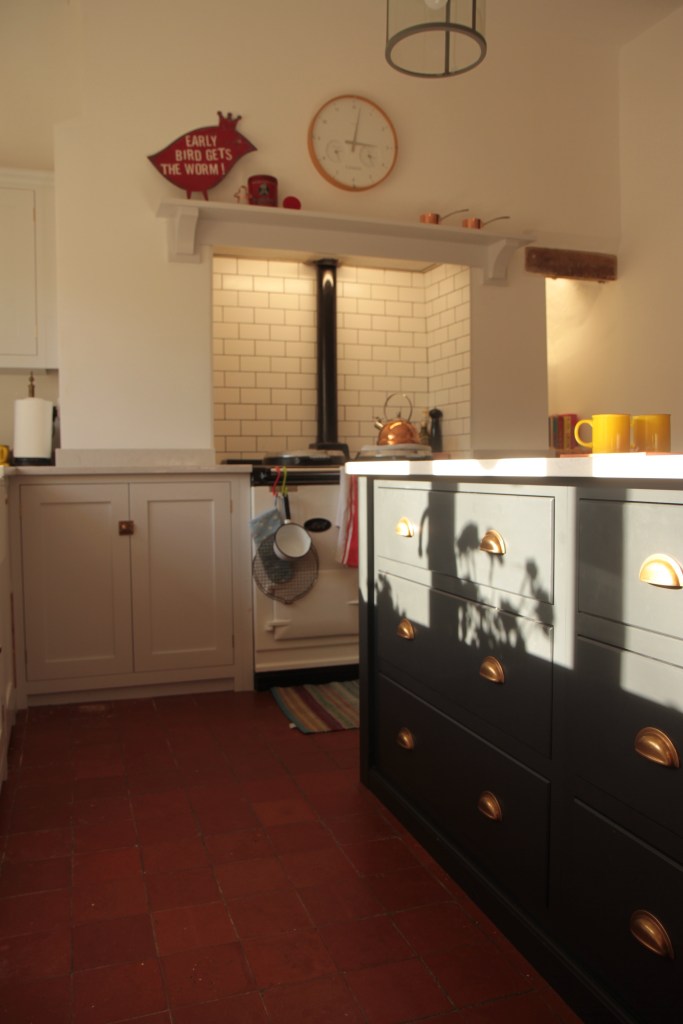
The thing with wood chip is that when you strip it off, whatever is behind tends to fall off as well. We have a lot of this stuff at home, possibly holding up the walls! When we first moved in my sister and I were in one of the bedrooms. She said, well at least there isn’t any wood chip in this room, I said look up… The ceiling is covered in it. In the kitchen we ended up peeking through chunks of plaster that had come away with the wallpaper to a beautiful stone wall behind. We decided to reveal it all and had it pointed up by a friend of mine who did a fantastic job. It looks stunning and is a focal point of the room. We didn’t want to put any units on this wall and thus narrowed our wiggle room in our kitchen design even further.
The stone wall wasn’t the only treasure we found. Once we had removed old cupboard doors set around the alcoves to the left and right of the Aga we also found a lovely little beam and some fantastic original wallpaper that was vinyl and I suppose may herald from the fifties. We put pieces of this into box-frames and hung them in the short hallway by the pantry as a ‘kitch’ throw back to the room’s history.

The easy part for me was not really having to choose a kitchen supplier. I wanted deVOL Kitchens as I knew they would create the perfect kitchen for the house.
We had already chosen this (fairly) local company to put the kitchen into our previous house which was a timber frame thatch cottage, full of original features. I wanted to use them again. Since our original kitchen they have gone from strength to strength and their Coates Mill head office in Leicestershire is a sweetie shop of beautiful design ideas and objects. I love it there.
The thing with their shaker collection is you can’t really go wrong. The shaker range comprises classic, simple cabinets that are beautifully made. They come in colours which are all fantastic. All the worktops they offer as well as the handles, sinks and taps are spot on the look I wanted. You can even mix and match to your heart’s content and it looks perfect. The last kitchen we did had two different colours for the cupboards and two different worktops and honestly it sounds completely mental, but it just worked and looked great. When we came to sell the house, viewers complimented the kitchen over and over again.
This time we had a quandary of a space to work with and not a lot of room to squeeze everything in. The original kitchen is bordered by stone walls several feet thick and different levels. In fact the house is stepped into the land, so that when you walk in the back door and head to the study at the opposite end of the house. By the time you reach it, you are already waist deep underground.
The kitchen leads on to a classic pantry (I know – so lucky – I can’t wait to kit this out) and then a utility room in a figure of eight shape. Plenty of people came into the house and said you want to ‘knock through’ here and ‘knock through’ there, but I didn’t want to be so rough and frankly had a tight budget! Anyway I genuinely like the house’s dimensions with its two chunky reception rooms at the front, large front hall with central staircase and labyrinth of rooms at the back.
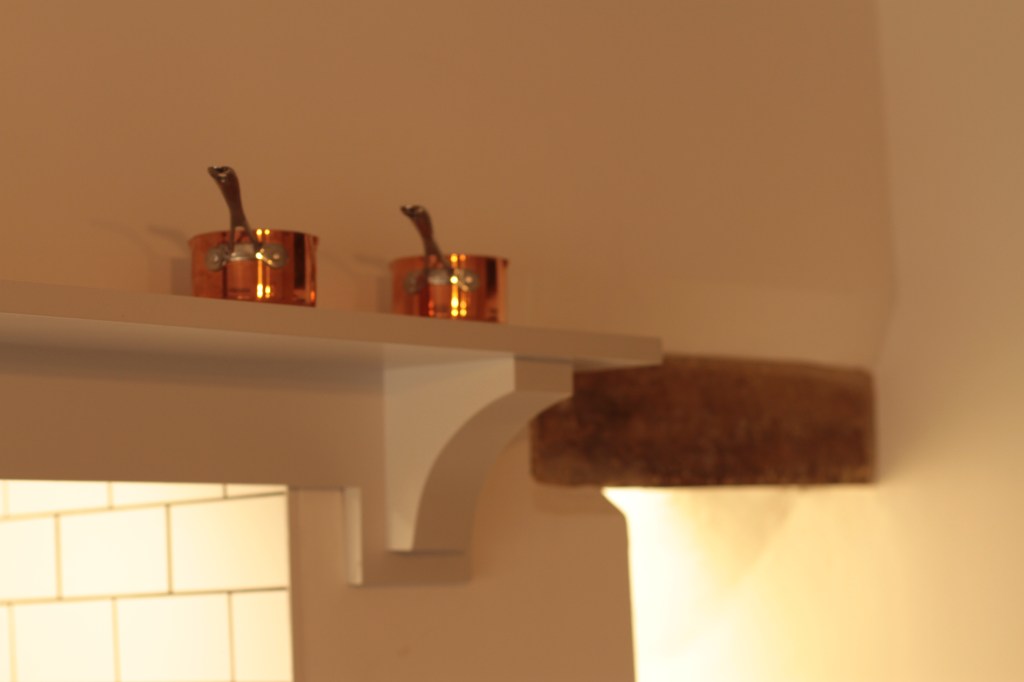
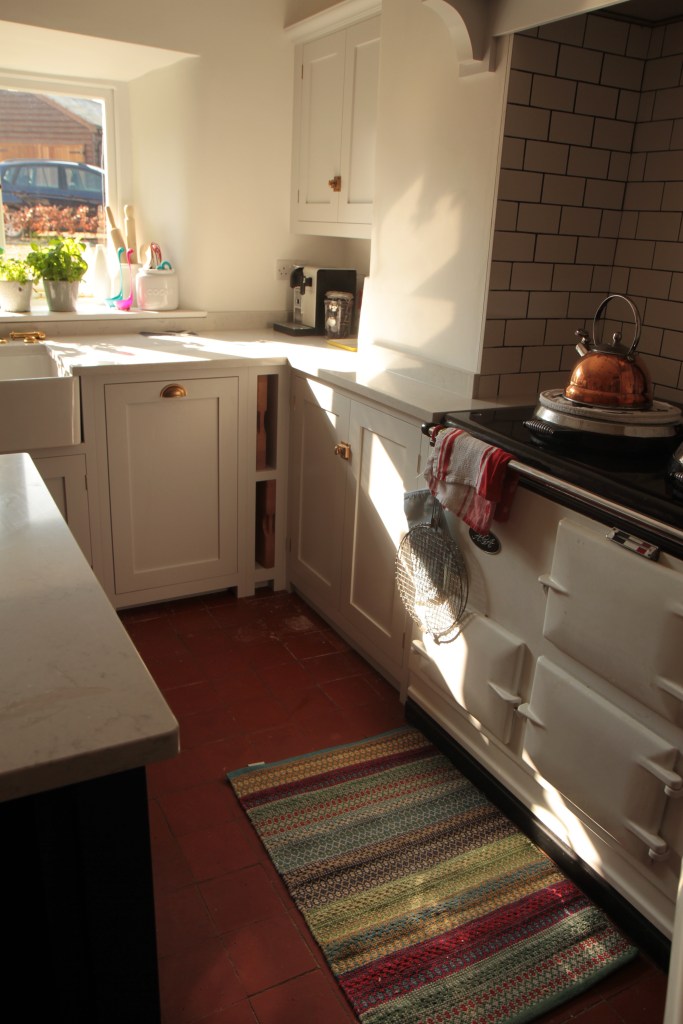
The kitchen has high ceilings with hop hooks. Even though there is only one window, light streams through in the afternoon and it is a beautiful bright room. All we had to do was measure up our wonky space and then squeeze just enough kit and cupboards in to suit our needs and to match the original quarry tile floor which is essentially bright orange!
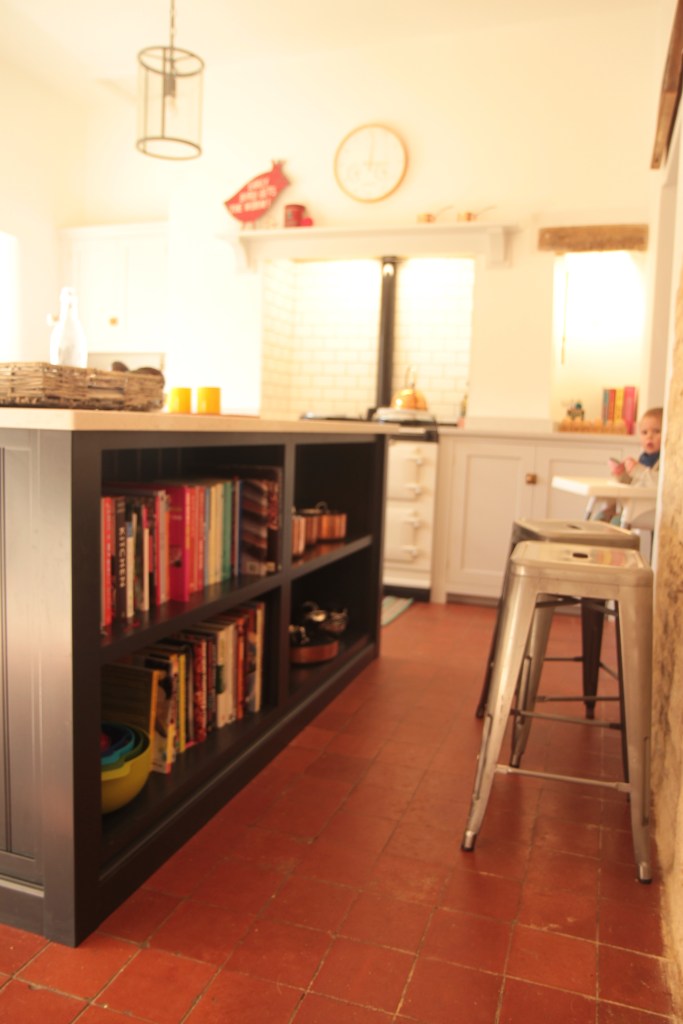
One thing we wanted was a huge island. This was simple to achieve in the end, as all an island is is a group of base units with a top. We really wanted pan drawers. I love pan drawers, they offer so much easy space and swallow pretty much everything we use in the kitchen. We created an island with pan drawers on one side and shelves on the other. We opted for the largest island we could fit in. The shelves had to be custom sized to ensure there was enough space around the island to move about and open the dishwasher. The designers at deVOL helped us with this to ensure that we met the minimum recommended clearance.
Then for our first run of units we had to tick off all the usual kitchen paraphernalia: sink, dishwasher, bin, fridge. Obviously we chose a Belfast style sink to suit the house and the biggest we could fit in. Nothing worse than a teeny tiny sink to cause more chaos than we already have. At tea times everything gets chucked in there and left whilst I do bath time and bed time. I much prefer a double sink unit so I can dump dirty crocks in one side, then have space to wash veg in the other. Then a stroke of luck as I had no idea I had ordered it, taps with a ‘rinser.’ My one year old son was tearing apart the Coates Mill showroom when we visited and put the finishing touches on our design, so I rattled through the last bits and pieces and ordered a tap with a squirty hose pipe thing to one side. Best gadget ever! When the stone company came to fit the worktops, he asked which side of the sink I wanted the rinser and I had no idea what he was talking about. Happily I know now and think they are the best thing since sliced bread!

That was the sink covered. Next the dishwasher. We work that thing hard in our house with two young kids and a lot of cooking and snacking and cups of tea. I don’t like integrated dishwashers. They seem smaller and always die in the end and then you can’t get the fake door front back on the same way. I’ve been driven mad in the past. I remember one integrated model we had years back which couldn’t fit a dinner plate in without it smacking against the rotating arm. deVOL have a neat solution to this. You have a regular dishwasher and it goes behind two smart shaker cupboard doors. Now this sounds a bit maddening, but you soon get used to opening and closing the doors and now you have a decent dishwasher that isn’t astronomically priced and looks good in your kitchen. It also means if it needs replacing at some point years down the line, it is easy to get it in and out. Another happy accident is that the pan drawers are directly opposite the dishwasher and they hold pretty much everything we use, so unloading is now super quick and easy.
The last item in that run of units is the bin. Also a piece of kit that can look ugly and be annoying. I recycle obsessively. I hate landfill and waste. I also hate ugly, overflowing bins and have never had one of those free standing push top ones that doesn’t eventually break and then sit in the corner of the kitchen with a gaping open mouth. The deVOL pull out bin is perfect and simple. Two bins that slide out, hidden behind a shaker door. One for recycling, one for everything else. I like that it is so close to the sink for rinsing packaging and then chucking it into the recycling side of the bin. The shelf above the bin unit, which is part of the cupboard, holds liners and a dustpan and brush. This little run of units left just enough space for a fridge at one end and thus we had everything we needed.
The alcoves either side of the old fireplace where our Aga resides were the next tricky bit. The space has no straight lines or square corners and a damp issue that needed addressing. Once this was done, an L-shaped custom cupboard suited one side and to save costs we realised that we could simply add fascia doors to the other side and leave the area in that whole corner completely accessible, no casing required. It was impossible to build a cupboard unit to sit there, but with a pair of doors it looked great and at a fraction of the cost. This is where all our baking trays and heavy roasting dishes now live and also allows us access to the Aga control box. Once the fitters arrived they cast an expert eye over the space and the cupboards and quickly spotted that the run of units would work better with an inset unit for chopping boards. This meant that the sink was dead centre to the window and the fridge at the far end was more central to the end of the run of units and the door. This was organised and arrived within a day or two. Nothing was too much trouble.
The most expensive part of the kitchen by a mile was the worktops. We agonised over this decision because the budget was very tight and in the end we had to rummage for cash to cover the cost of silestone. Now that we have made this leap I am really pleased. The kids are at that brutal age of maximum stickiness, food throwing and smearing with cutlery gouging, wielding of felt tips and pots of slime. Our dining table is now a graffitied, glittered craft project that wouldn’t look out of place in the Tate modern. The silestone is pretty bomb proof and after a year of heavy use looks pristine. I love the light, bright surfaces and don’t have kittens every time we have curries laden with turmeric or slop glasses of red wine. It’s also very hygienic which is great because my little boy prefers to take all his dinner off his plate and liberally smear it everywhere before licking it directly off the worktop.
One of the nicest things about the shaker kitchen is how it ages so beautifully. We have a few dings in the paint now and it really doesn’t matter. It looks better as it is lived in and there is no laminate to chip and spoil.
Having been through a few kitchen installations over the years these are my top tips:
- Measure, measure and measure again and it if is an old house don’t forget that walls aren’t straight so a measurement at the bottom isn’t necessarily the same as a measurement at the top. Also corners don’t necessarily come as right angles. Our L-shaped corner cupboard had to be significantly smaller than the L-shaped corner it sits in because all the angles were all over the place and the walls bulged in and out.
- When you box up all your old kitchen bits and pieces don’t unpack them all at the end. It’s surprising how much stuff just doesn’t get used. I’ve only unpacked half of what I had gathered over the years and after a year or so I’m still not using it, so it’s going to the charity shop. A new kitchen is a great chance to declutter.
- If you have the chance to put a utility in and ditch bulky appliances from your kitchen then this is a great way to keep things streamlined. We have a utility space in this house, for which I am very grateful, but our old house did not. I added the necessary plumbing to a cupboard in the hall and we put the washing machine there with shelves over to hold all the detergents and baskets. It was great to get it out of the kitchen.
- Spend money on good taps and get a rinser if you can. I love mine and would go without other things to have one.
- Make a list of the ‘must-haves’ in the kitchen. This includes major appliances and a sink of course, but could also specifically include the little things like a tea/coffee area with the perfect space for a coffee machine and jars of tea, coffee, sugar. Make sure it all fits, looks good and is easy to use and keep clean.
- Plan a space to have a lap top and work if that is what you like to do or where the kids can sit and do homework whilst tea is being cooked.
- Go into detailed lists of what will go in each cupboard and what will go in each drawer: cutlery, plates, etc, baking equipment, roasting dishes, scales, jugs. This means all the essentials are catered for and you know it will all fit. Also think about where every day items are in relation to the dishwasher. Unloading dishwashers is a tedious and repetitive task.
- Less is more though. Keep to the basics and what you actually need. Don’t fill all your lovely new cupboards and drawers with clutter, also don’t spend extra cash adding in cupboards for junk you don’t need and barely use. Leave space to hang out and space to spread out. Nothing uses up worktop space like a family pizza making night. Our kitchen isn’t huge, but it feels very spacious. People have mountains of stuff these days and then fill their kitchens with cupboards right up to the ceiling closing the space in. I’m not a fan of wall cupboards and we only have one, which is for cups and glasses. The coffee machine sits underneath.
- If you want to have small appliances such as coffee machines, blenders, juicers etc, which you regularly use measure their height and make sure they will sit neatly under your wall cupboards, if you are having them. Also remember that they need to be within easy reach of the sink as they need constant sluicing out and cleaning. Sockets cannot be on top of a sink obviously for safety reasons, but conversely you don’t want to put your tea and coffee area the other side of the room to the sink as you will be trudging back and forth. Our Nespresso machine has to be slopped out and refilled with water non-stop.
- If you are having an ‘upstand’ as part of your worktop, which is basically another small strip of worktop that runs along the edge, then make sure you have plenty of clearance for your sockets. Many plugs have chunky protruding pieces of plastic that extend down past an ‘upstand.’ I learnt this the hard way when I went to plug a blender into my old kitchen and it wouldn’t quite fit.
- Spend a long time planning your plug sockets. If you are having an island, make sure there is power available to it. It’s a pain to have to dig up a bit of the floor for wiring but well worth it.
- Once your old kitchen is ripped out use masking tape on the floor to ‘draw out’ the kitchen units, appliances and all major features, then add on the necessary plugs and wiring as ‘X’s on the walls. Don’t forget that plugs and switches can go inside cupboards too.
- Think about the necessary lighting from the outset but also how you plan to switch these lights on and off. If you have countertop lighting, will you be able to switch it on and off from the main light switches on the wall or will they all have to be switched on and off individually, which could become a pain. Which bank of lights should go on which switches and how many entrances to the kitchen are there? What lights can be switched on from each? Ask your electrician for advice. Our wiring was tricky to sort out.
- Don’t forget if you have an Alexa in the kitchen this is a neat way of introducing a dimmer function without having to wire one. It’s also a nice option for kitchen timers, reminders and tea time music with the kids (baby shark over and over)!
