We have two really well established Nepeta (Cat Mint) plants either side of our front door that go wild every year and cover everything within a meter radius. The problem is Spring in this garden border. Once the Nepeta is cut back, there’s just a messy bald patch that was a mass of flowers for most of the Summer.

Going wild and covering everything 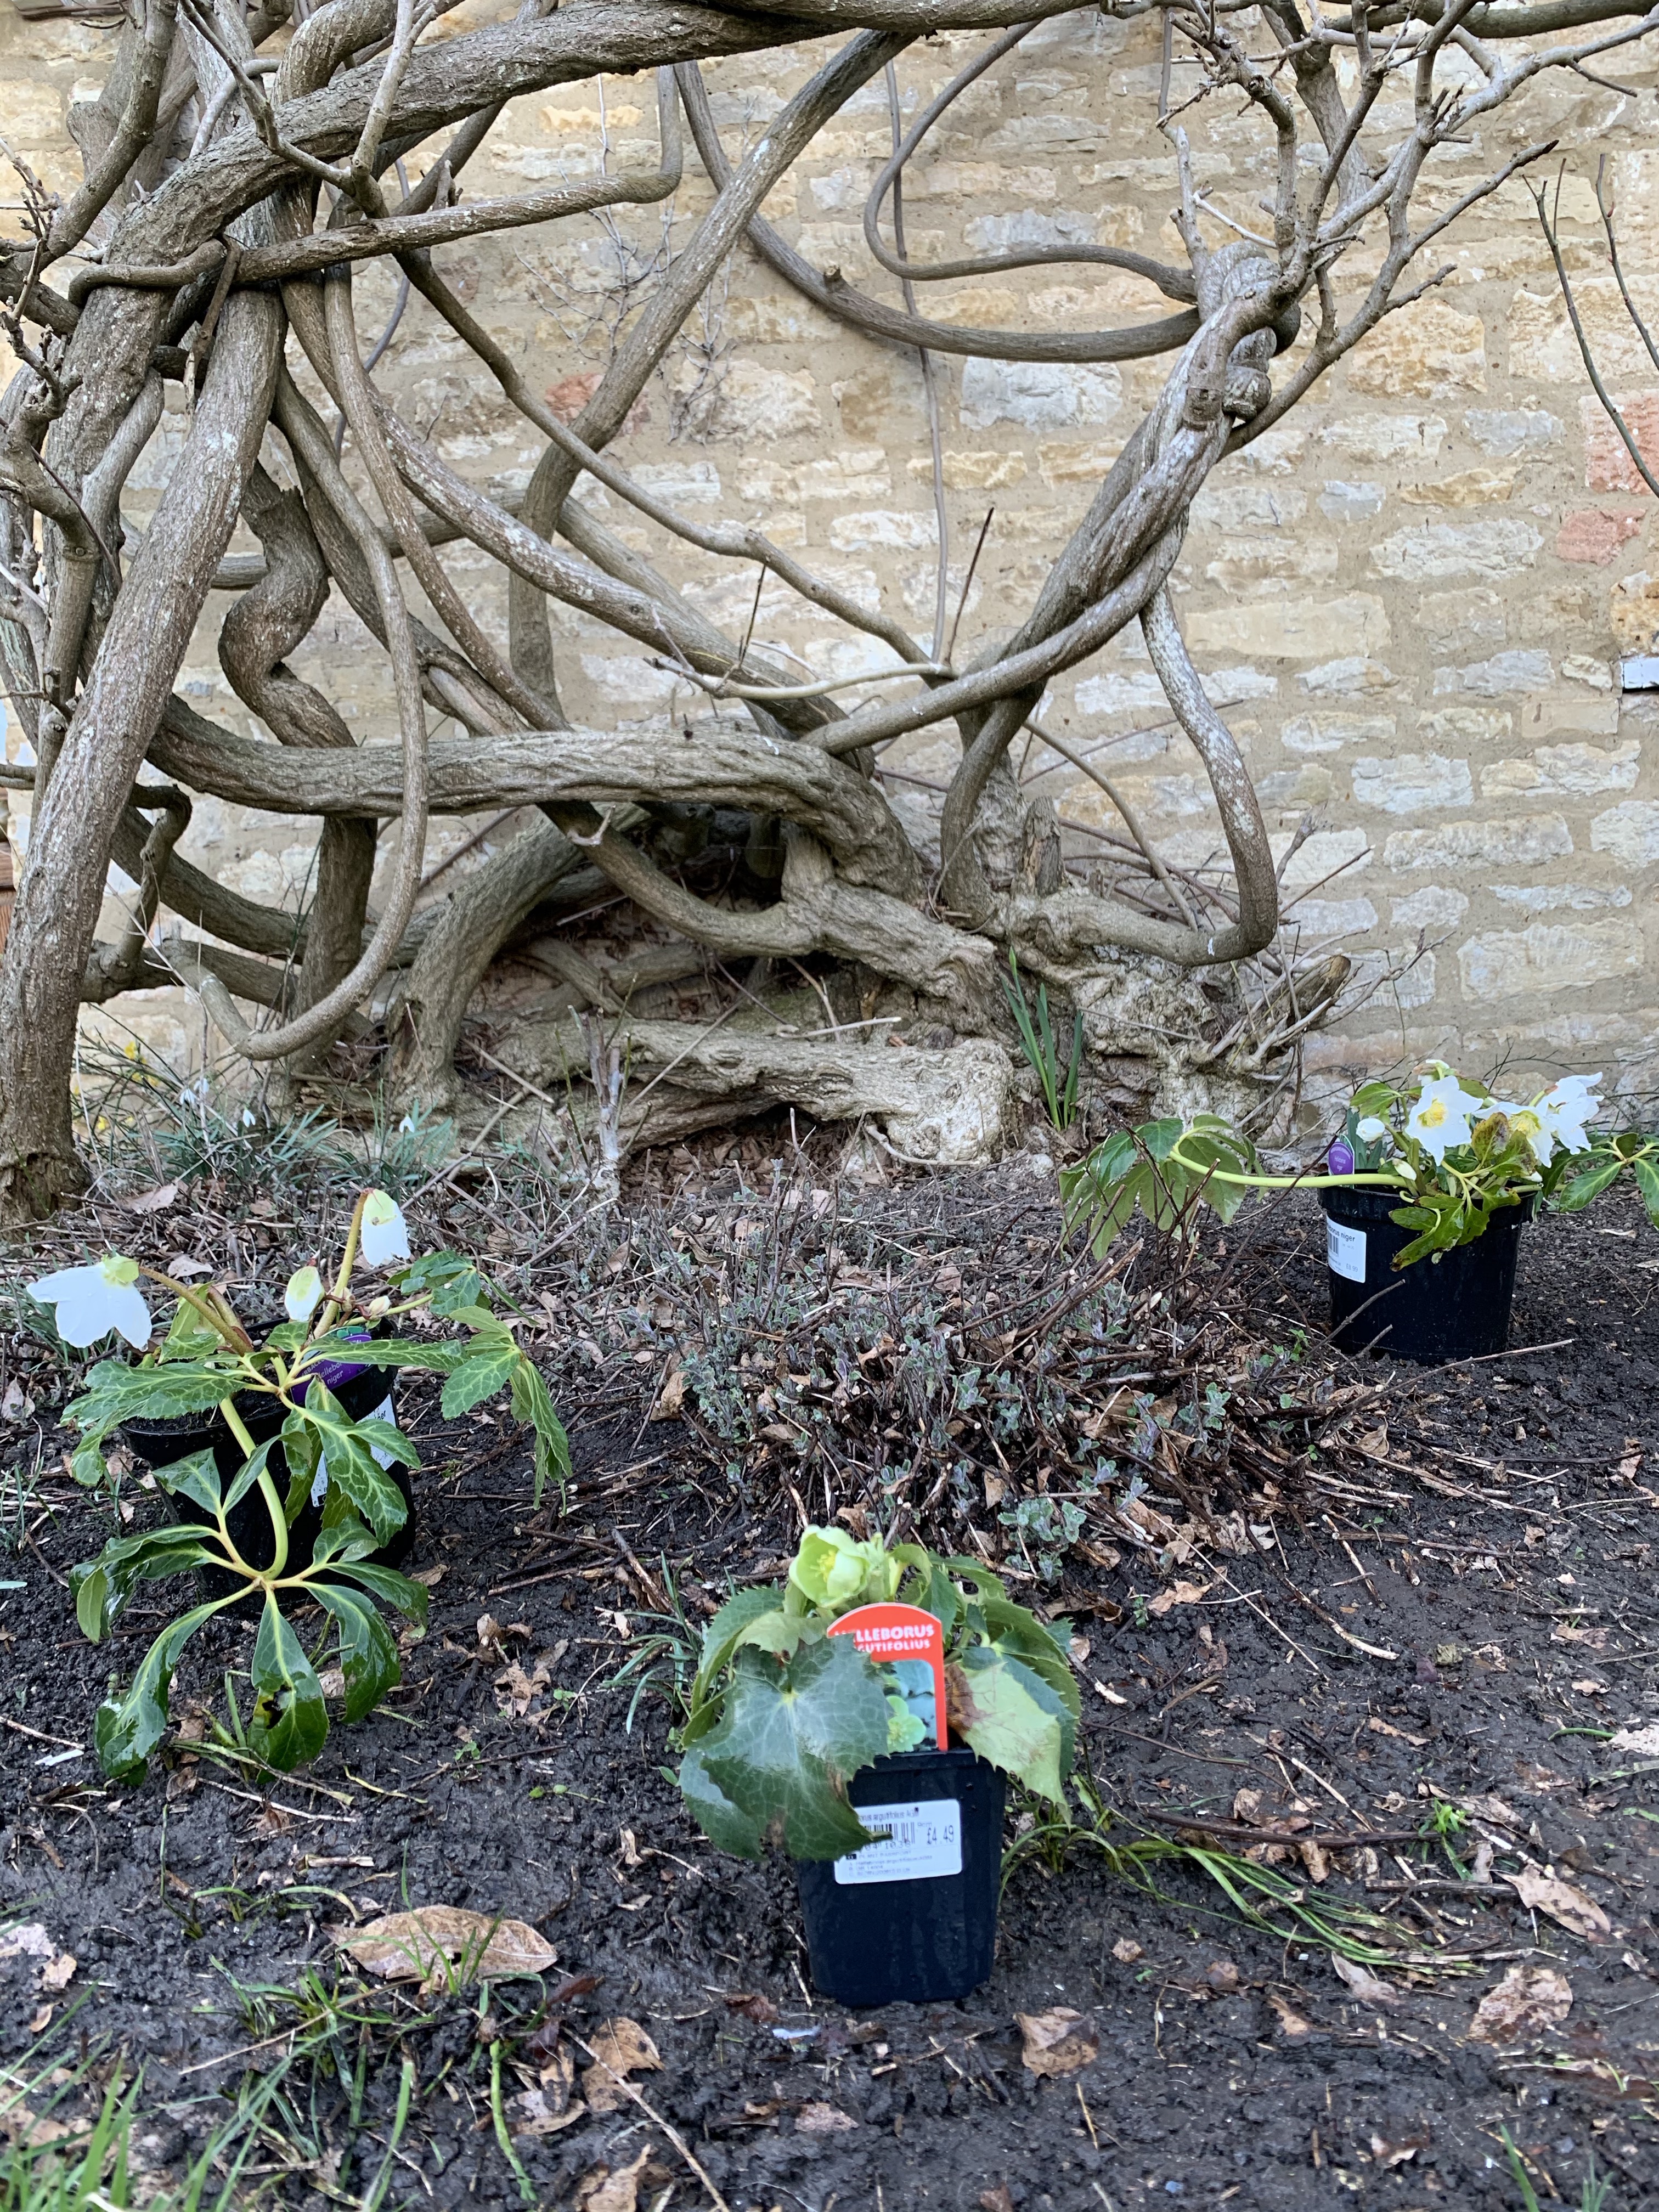
All cut back 
Tiny Shoots
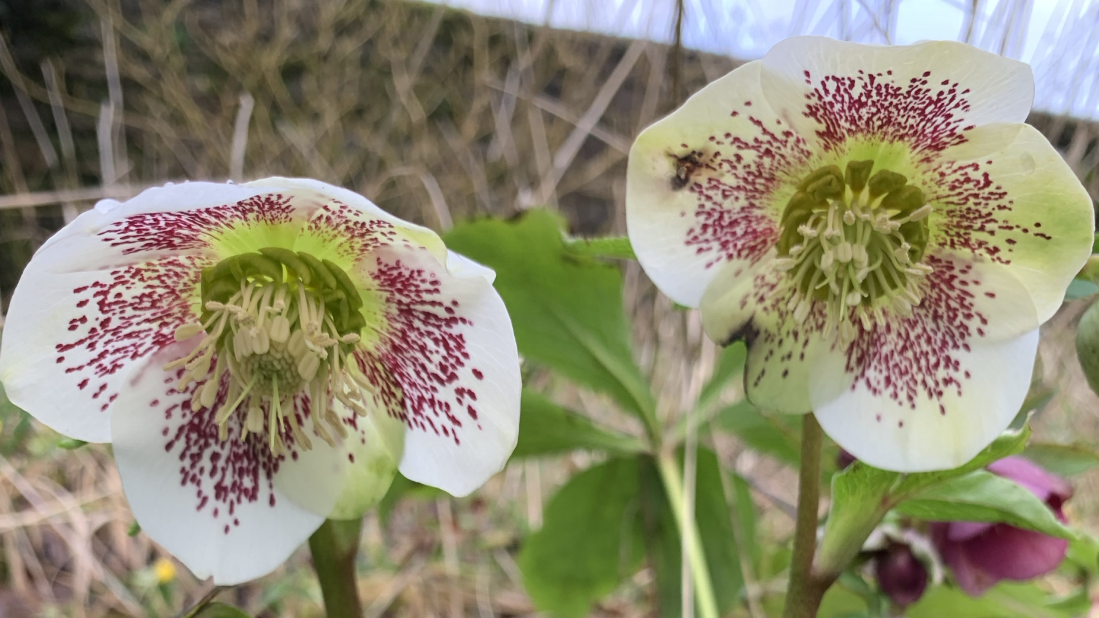
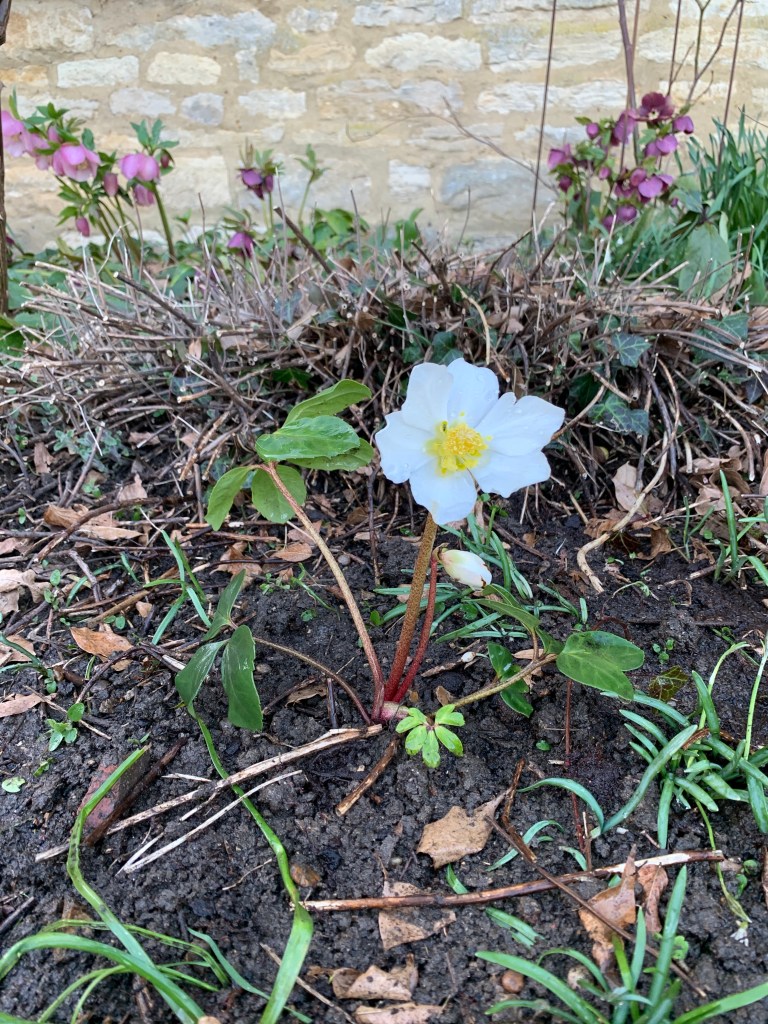
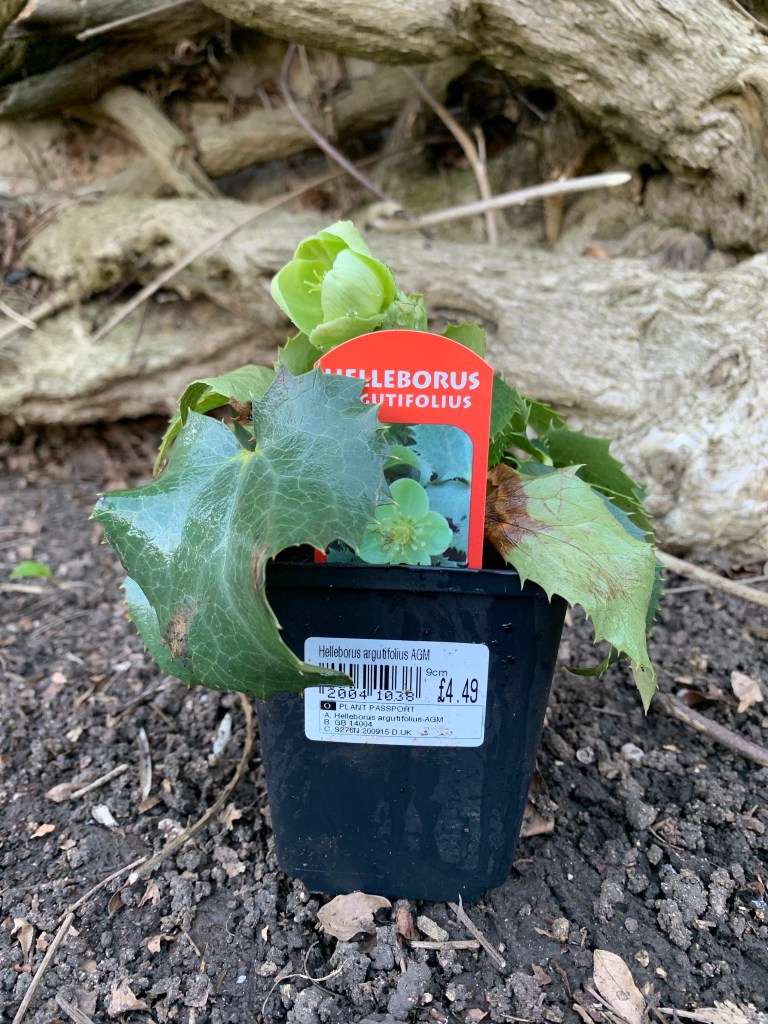
So to choose a very pretty partner that ticks lots of boxes we just planted up a few Hellebores to fill the gap. These should naturalise and spread given time. They come back every year (hopefully) and are great cover for that bald spot with pretty flower heads like nodding bonnets and rich sturdy foliage. If they come back happily next year I will put some more in. They are the kind of flower that come in so many colours and patterns I can start a collection.
I’m not entirely sure if they will like living underneath the Nepta’s awesome floral fro in Summer time, but there is only one way to find out. Nothing ventured, nothing gained…
If you are new to gardening and want to try out planting up some Hellebores at this time of year: grab some from your local garden centre. The little one in the picture below was less than a fiver. Then the general rules of planting stuff applies.
- Water your new plants well, as they are standing in their pots and you are getting everything ready, giving time for their drink to soak through.
- Dig a hole about the same size as the pot the Hellbore came in. Be nice to any worms you upend, worms are ace.
- Throw in some compost and water the hole as well, why not.
- Tap or squeeze the sides of your pot to loosen up the plant then tip upside down and tap the bottom until it drops out.
- Tickle the roots (no really). This shows your new plant that you love it and frees up the roots to go about their business. Sometimes whilst in pots roots can weave tight loops under confinement. No one likes getting their knickers in a twist.
- Put the plant in the hole.
- Tuck it in. As in: back fill with soil and any compost spilled, firming all around until it is nice and snug.
- Water again and keep watering regularly for the first few weeks to settle them in.
- Keep the pots for your next project.
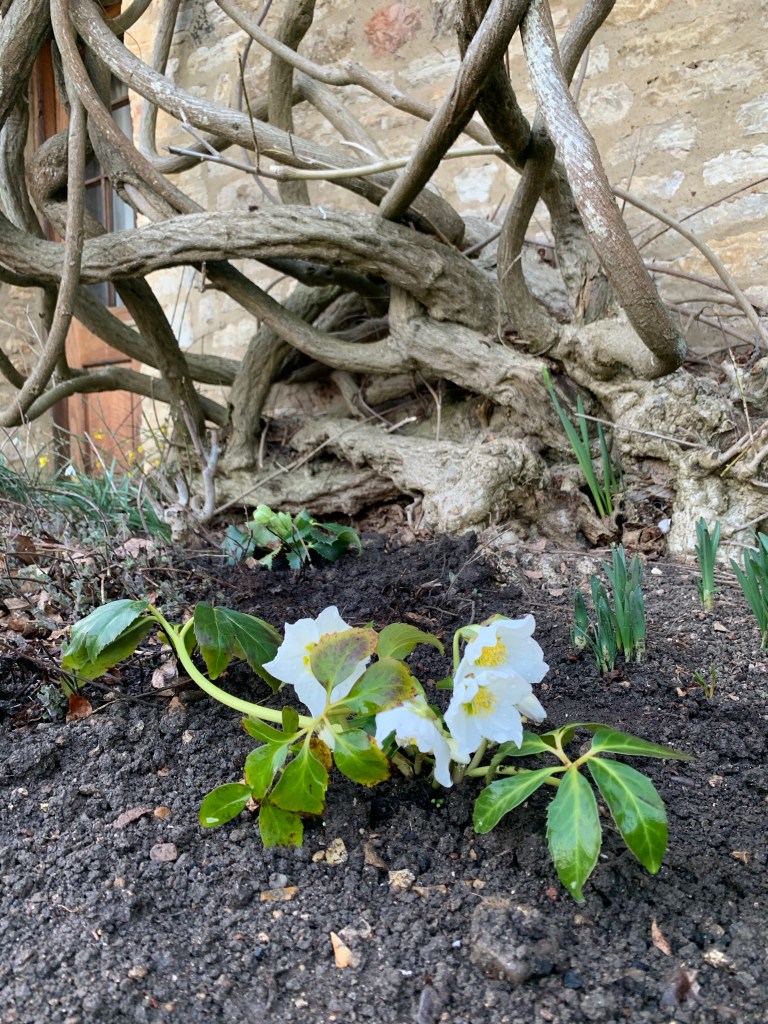
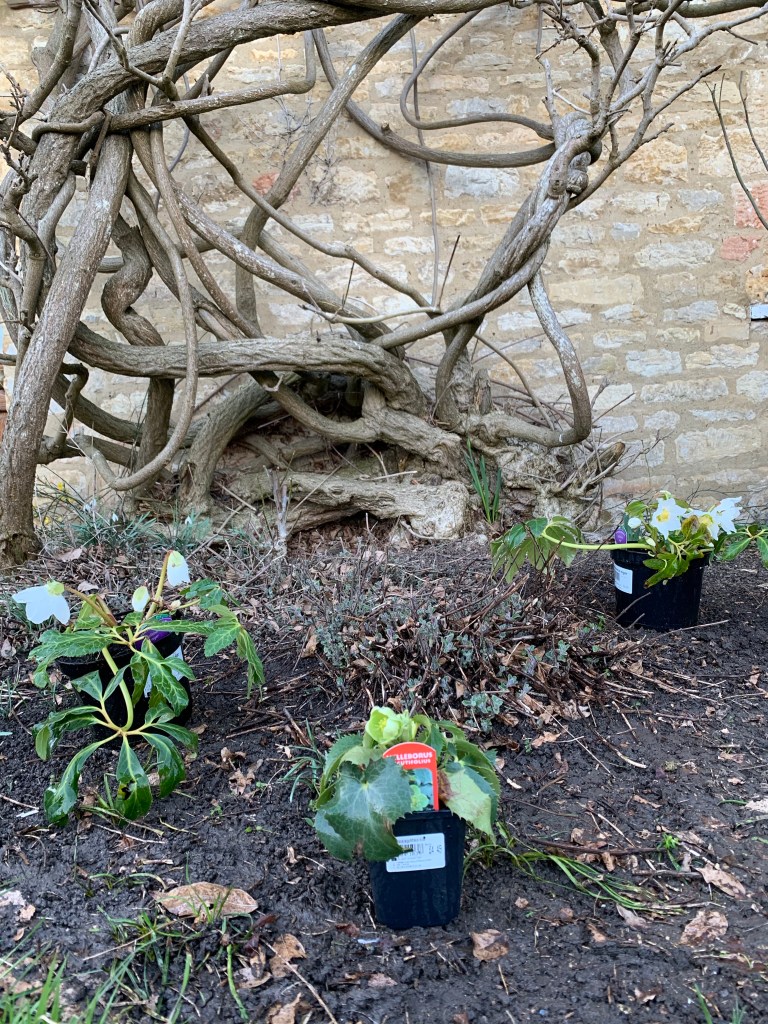
By the way that serpent in the background is Granpa Wist. More on him in other posts. He is the Granddaddy of this garden and one of our favourite and oldest plants / behemoths. At one point the front of the house was ALL Grandpa Wist until we got some help with how to manage him. My ginger snipping at this elder statesman (trying not to hurt him) did literally nothing to stop him growing into our bedroom and the loft. Now we have him much more under control, flowering beautifully and looking very dapper.
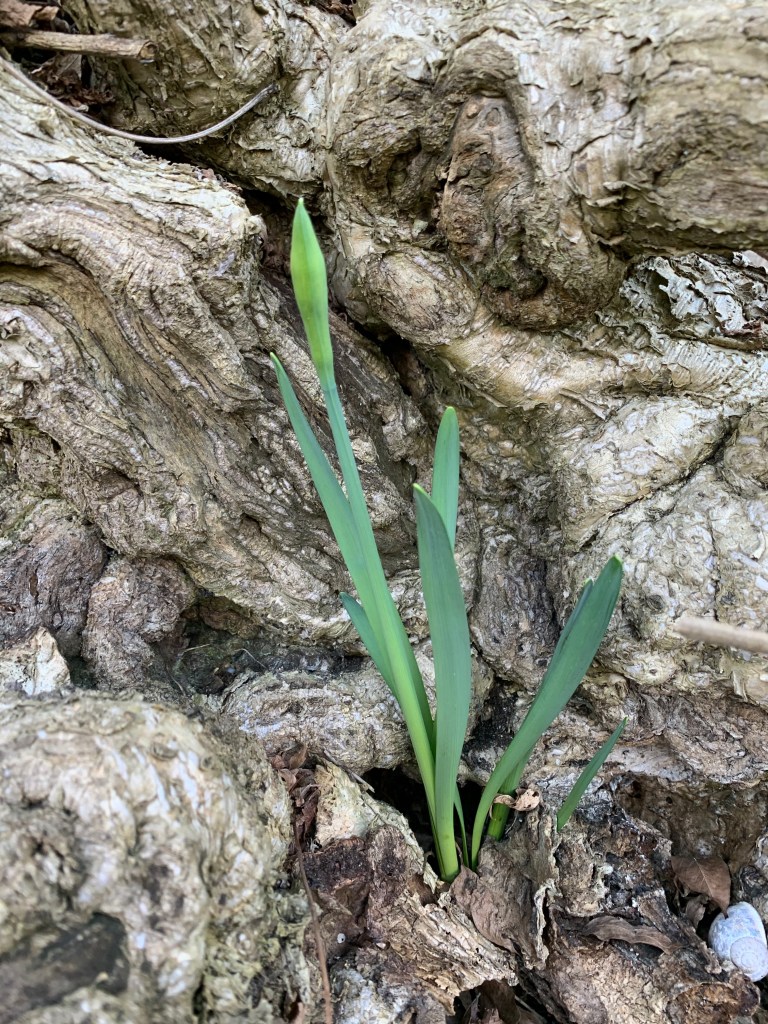
Grandpa Wist has a daffodil 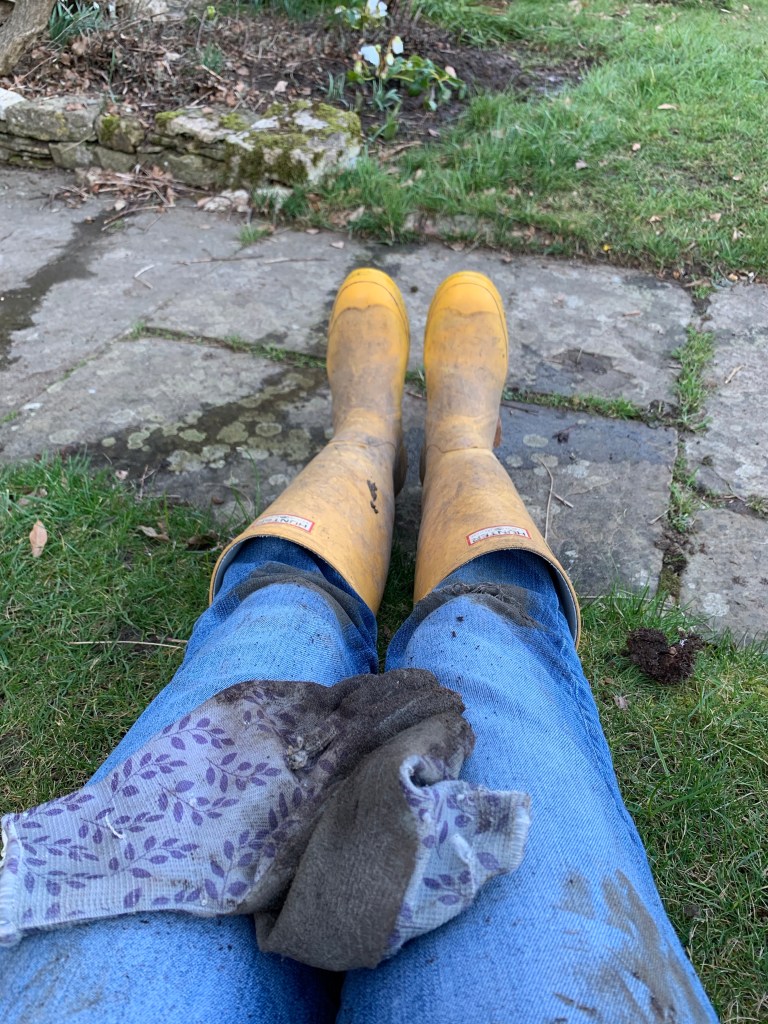
Get muddy! 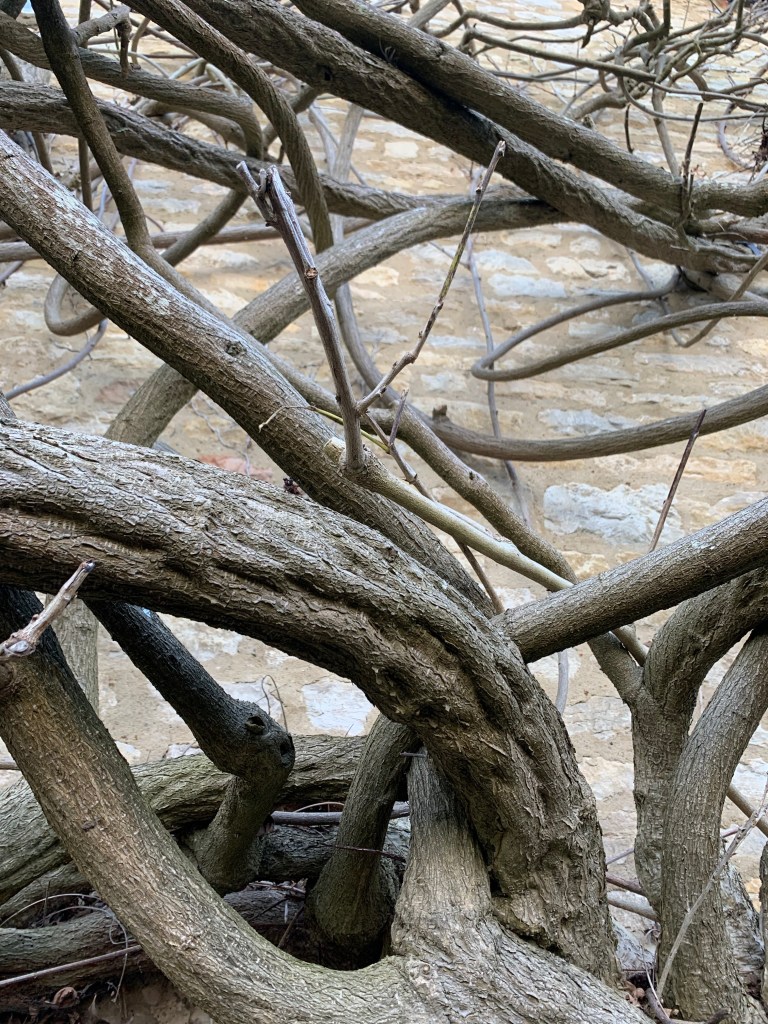
Grandpa Wist
Happy planting everyone!

Love your blog Kate!! Inspiring me to get out and have a go!! Thank you! 😬🤗
LikeLiked by 1 person